ONE OF THE BEST PUMPKIN DECORATING IDEAS – EASY, CUTE AND NO CARVING!
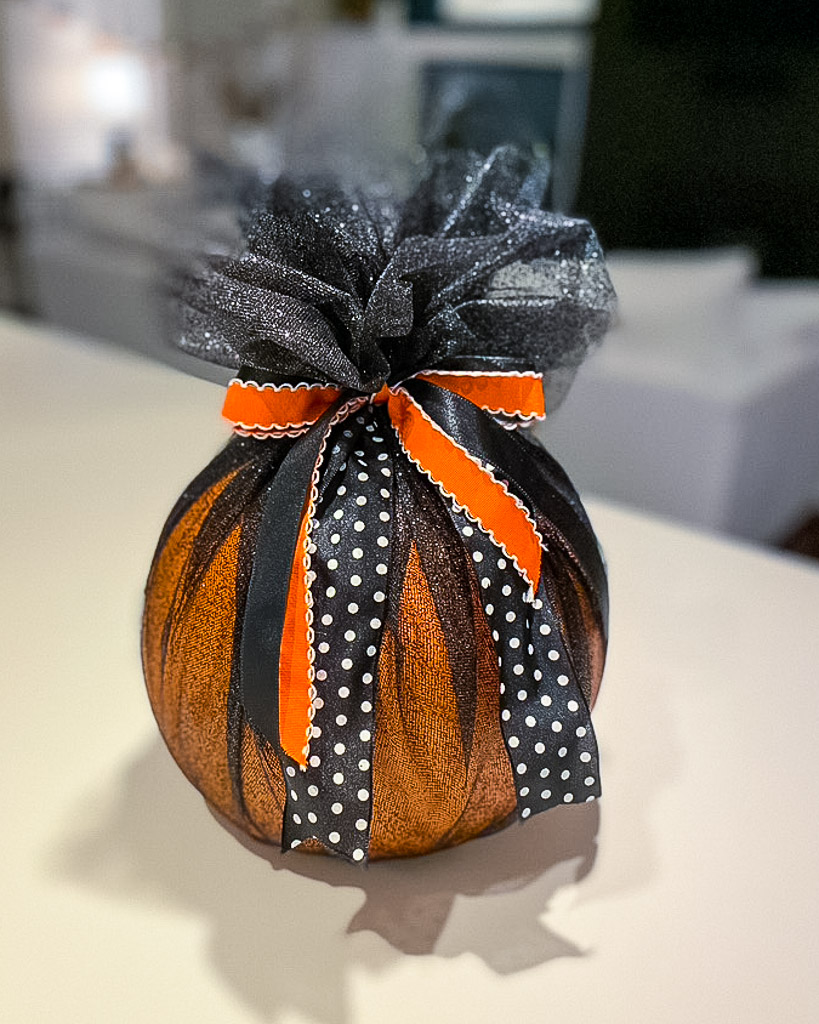
It’s one of the best pumpkin decorating ideas we’ve found that is simply adorable and remarkably easy to make! We show you how!
These days, I’m all about getting ready for Halloween.
I just love everything about it!
The costumes, the candy, the food … it’s all just so much fun!
But I do have one confession to make …
Creating a jack-o-lantern scares the daylights out of me.
Is anyone else frightened by the thought of carving a pumpkin?
You can admit it.
This is a safe space.
And I know I’m not alone.
I’m not 100 percent certain why this is, I think it’s primarily that I just don’t want it to end up at the Urgent Care.
With stitches.
And hopefully(?) all of my fingers.
Attached.
I admit that is perhaps a bit dramatic, but I’m not taking any chances.
And you don’t have to either.
I’ve come up with the cutest, NO CARVE pumpkin decorating idea.
And I show you how you can make this adorable pumpkin in just a few easy steps.
I know you’ll love it!
We’ve found the best no carve pumpkin idea that is simply adorable and remarkably easy to make!
Because let’s be honest, no one wants to risk a trip to the Urgent Care for a cute pumpkin.
Another confession …
I originally saw this idea on Grandin Road.
But, like a lot of things these days, they were sold-out.
So I took a closer look and realized, these decorated pumpkins would be easy to DIY.
And I was right!
Yay!
I show you how you can bring one of our favorite creative pumpkin decorating ideas into your home this season, step-by-step!
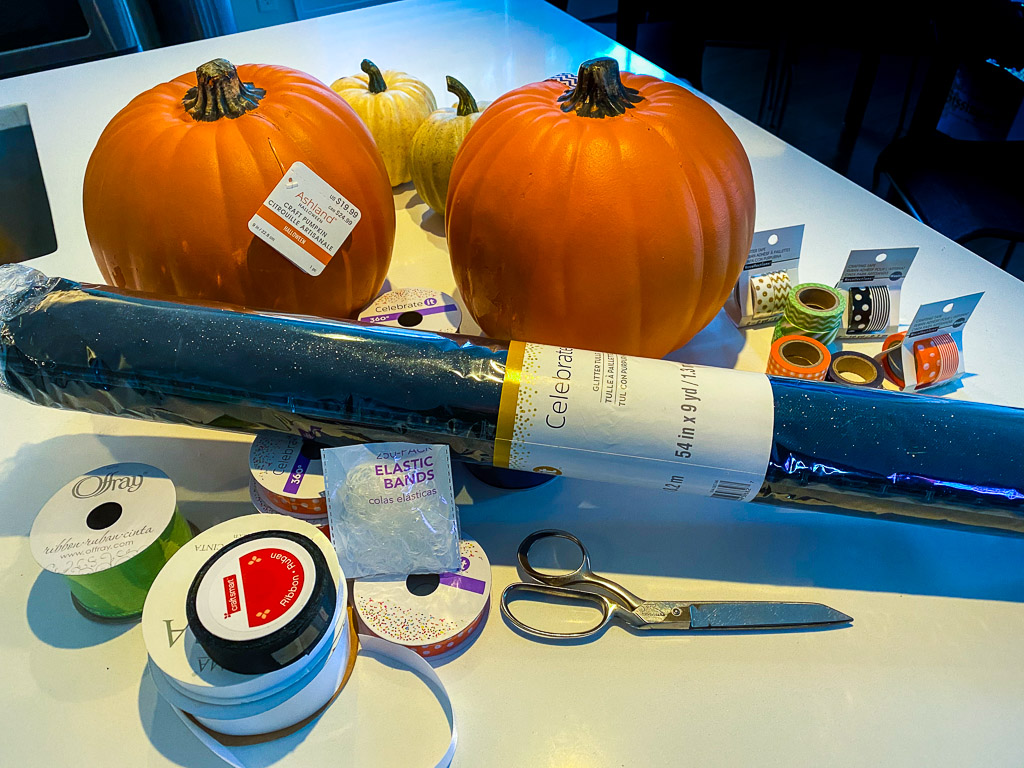
HERE’S WHAT YOU’LL NEED:
- Craft pumpkins (it doesn’t matter what size you use, I used a 10 inch pumpkin)
- Black tulle fabric (mine had a bit of shimmer)
- Grosgrain ribbon
- Satin ribbon
- Rubber or elastic bands
- Sharp scissors
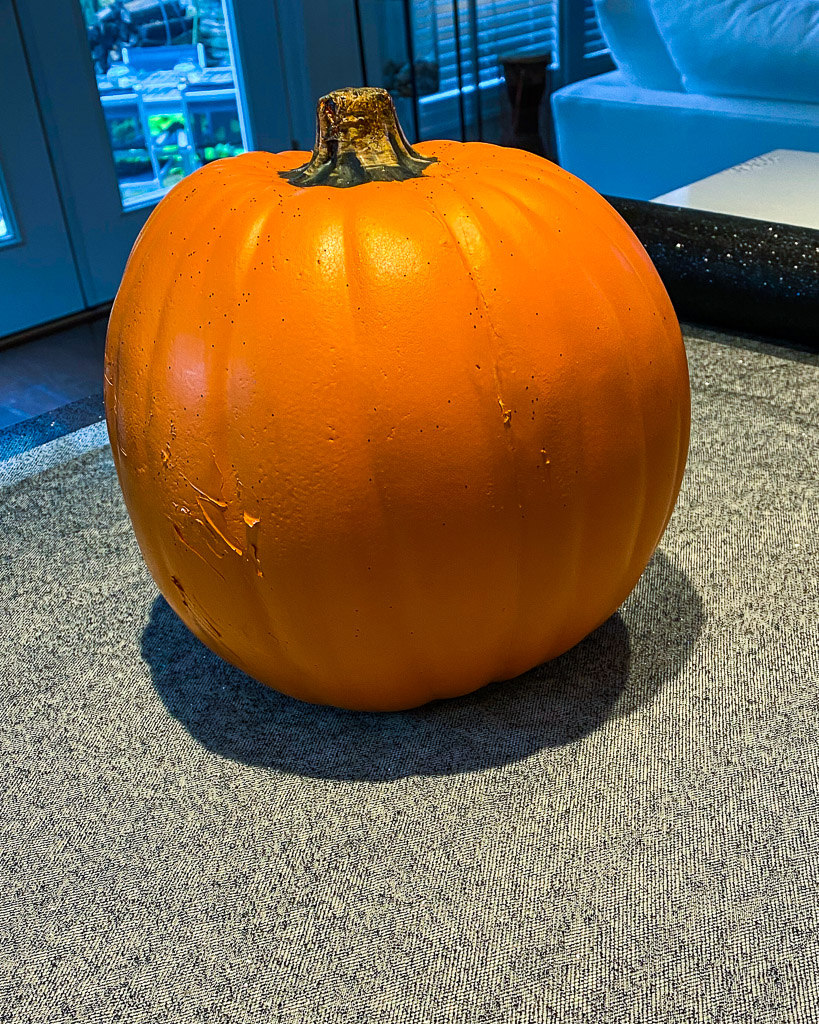
First, place the craft pumpkin in the middle of the black tulle.
Similar to wrapping a present, you want to make sure the fabric will cover all of the pumpkin — plus leave about four to five inches of leftover fabric.
The easiest way to do this is to just eyeball the fabric by placing over the pumpkin:
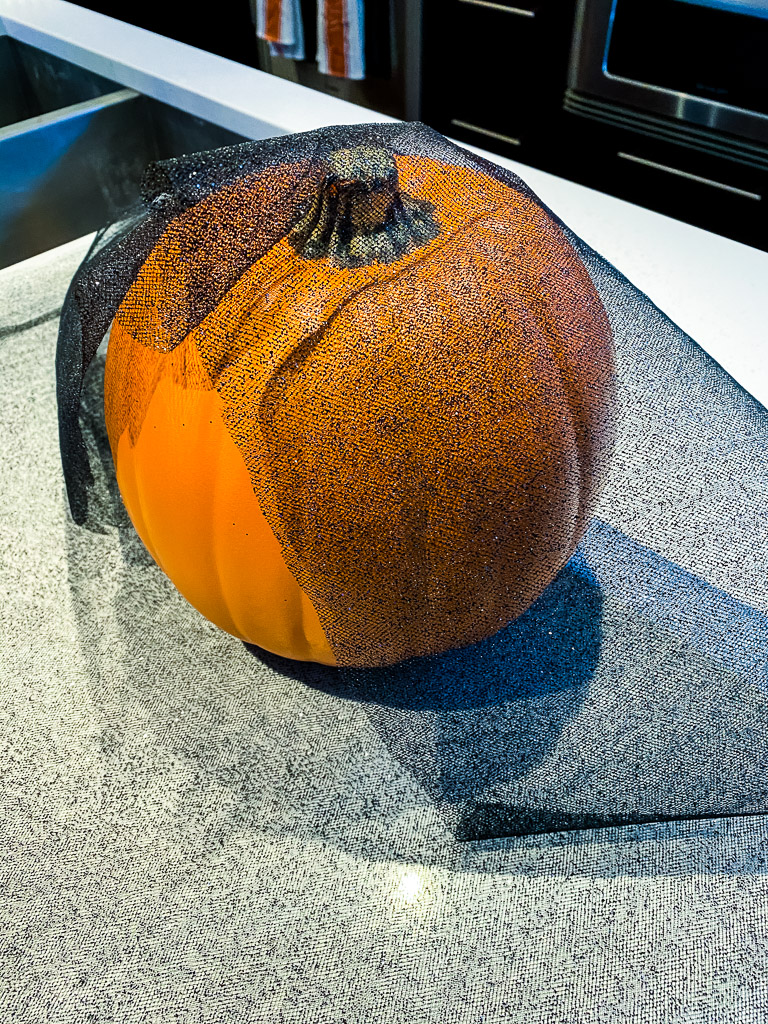
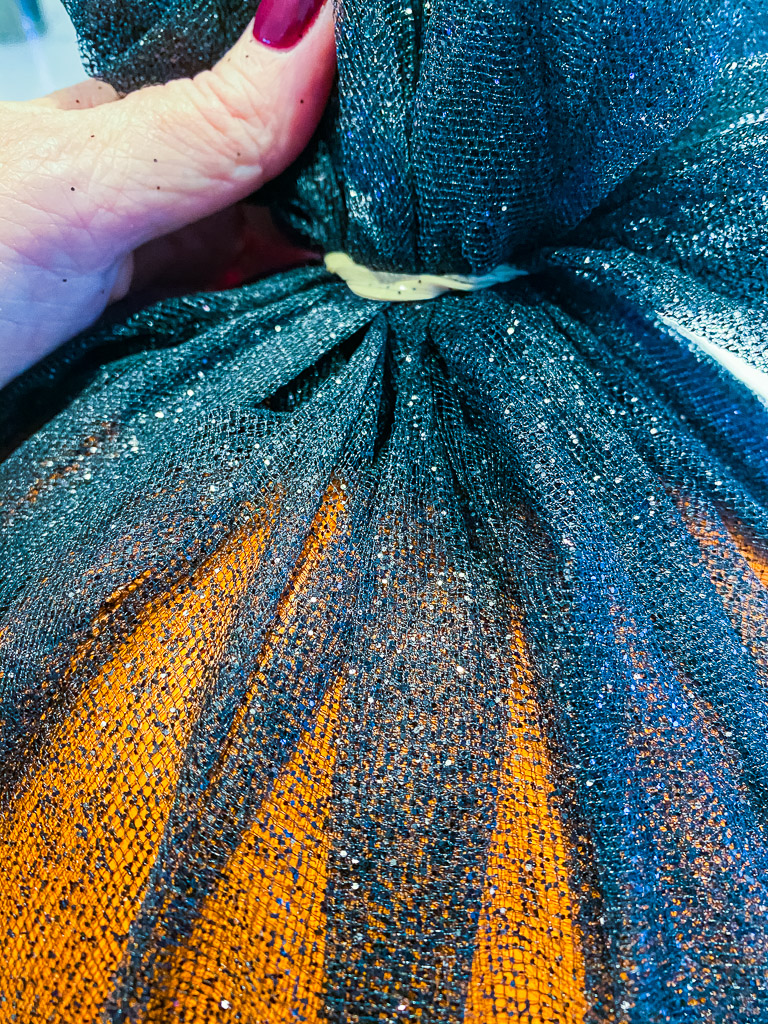
Next, after you’ve cut the fabric, you want to evenly gather it and pull it taunt at the top of the pumpkin, near the stem.
The fabric will naturally form pleats, as this photo illustrates:
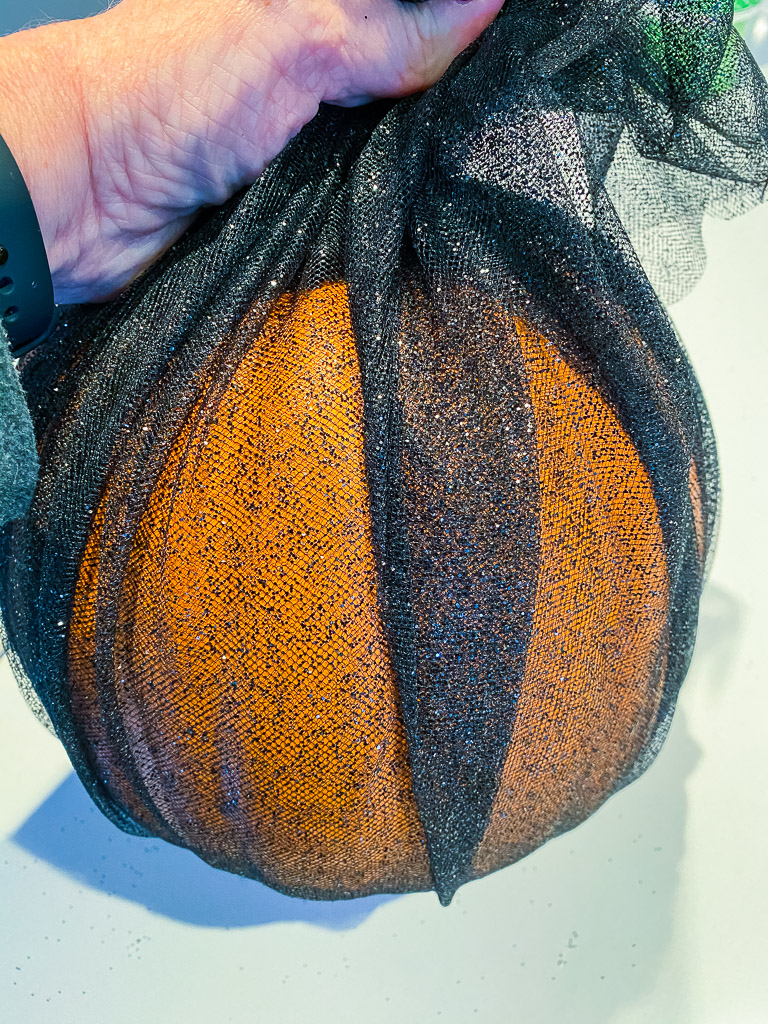
You want to make sure you pull the tulle tight … otherwise it will look make the pumpkin look misshapen and bulky.
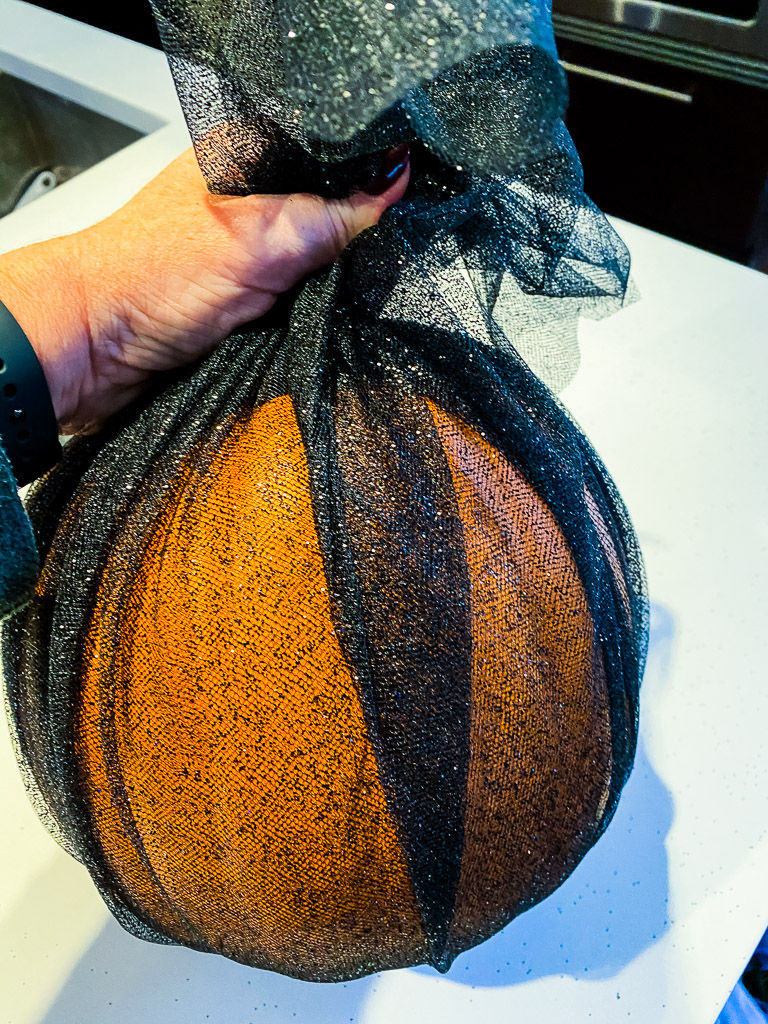
To ensure the tulle stays in place, tightly wrap a rubber band around the tulle, at the top of the stem.
This also forms the cute “pouf” at the top of the pumpkin.
It doesn’t matter what color rubber band you use, it will eventually be hidden by the ribbon.
IT’S TIME FOR THE FINISHING TOUCHES:
The pouf will be a bit uneven. Simply trim it up with a sharp pair of scissors:
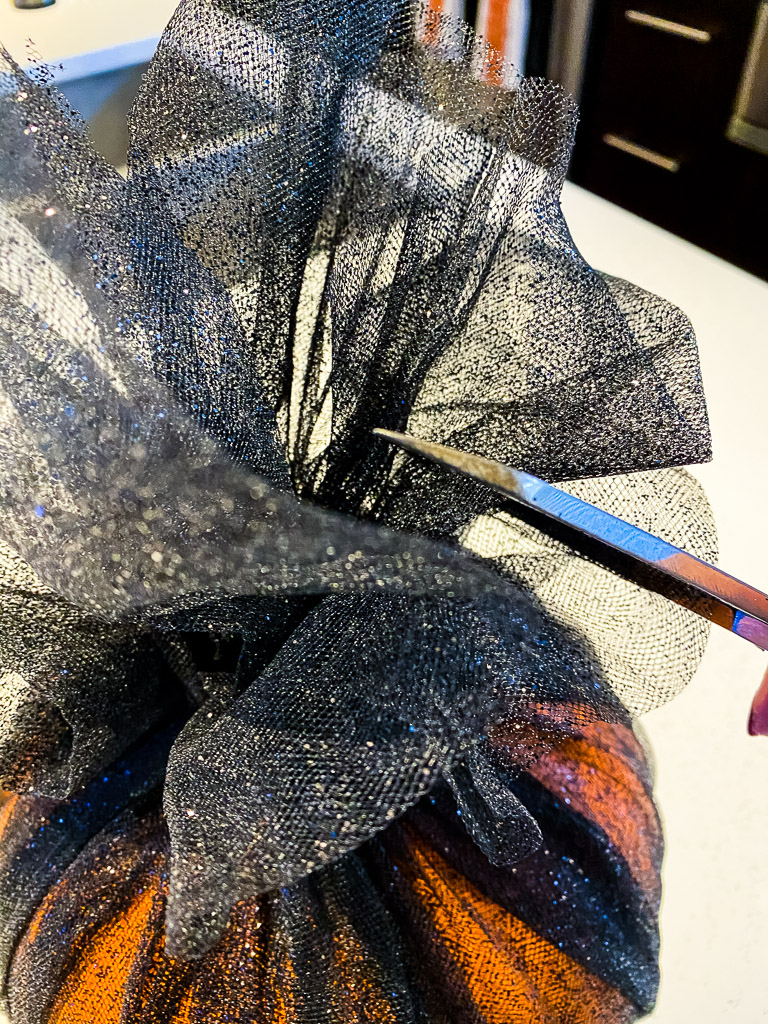
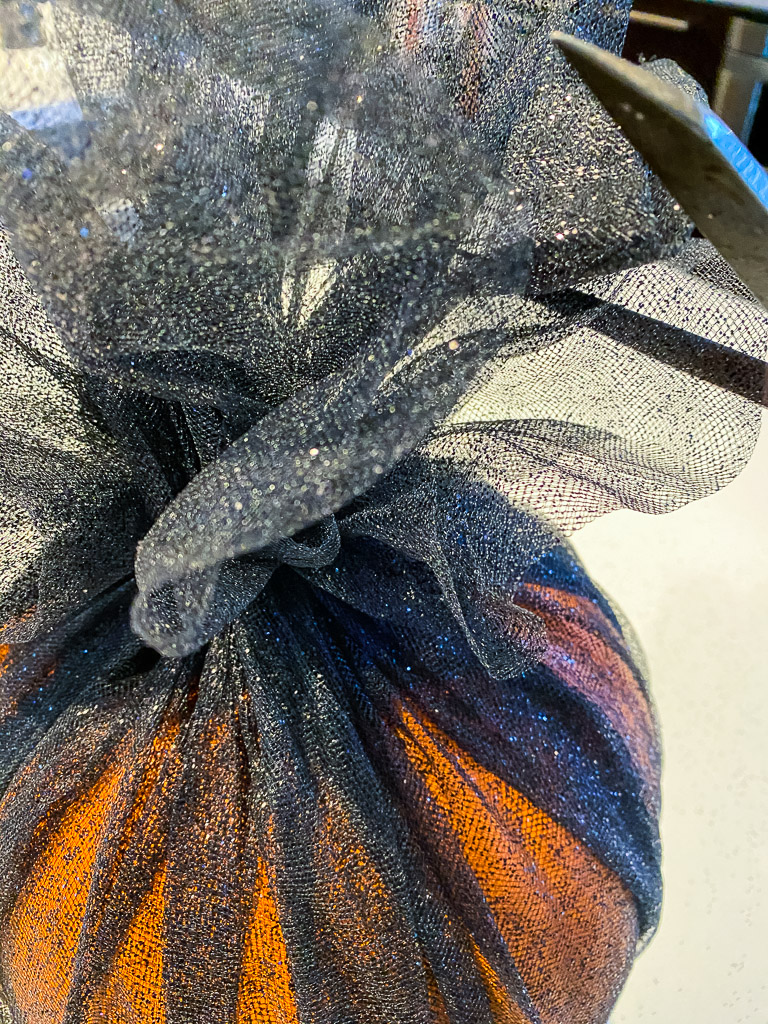
Finally, with just a few snips of the tulle, the pumpkin really begins to take shape.
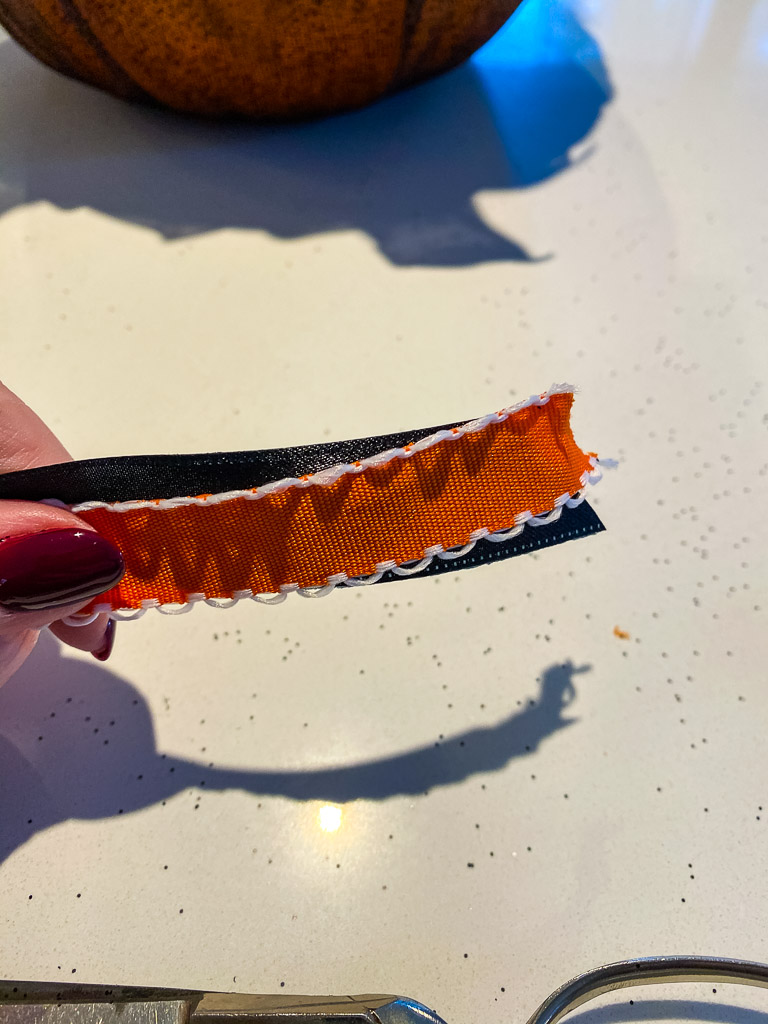
I chose a one-inch, black and white polka dotted, grosgrain ribbon to cover the rubber band.
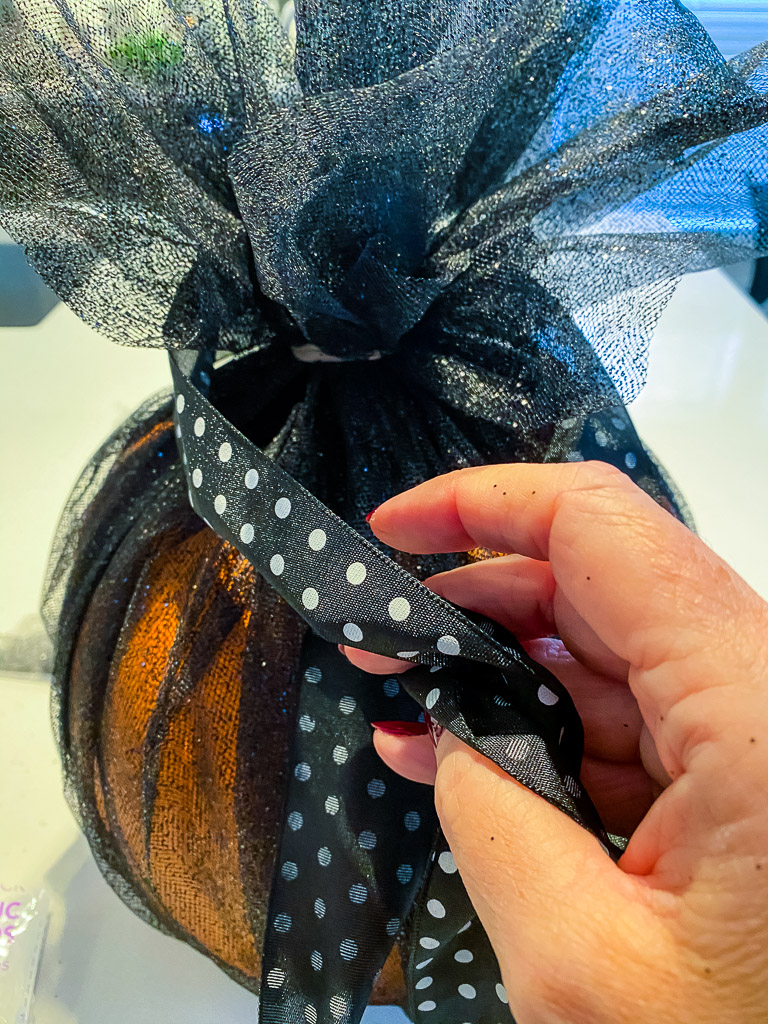
To add an additional bit of flair, These two smaller width ribbons were perfect.
I simply tied them in a bow around the black and white polka dotted ribbon, and trimmed them a bit shorter, to add some interest.
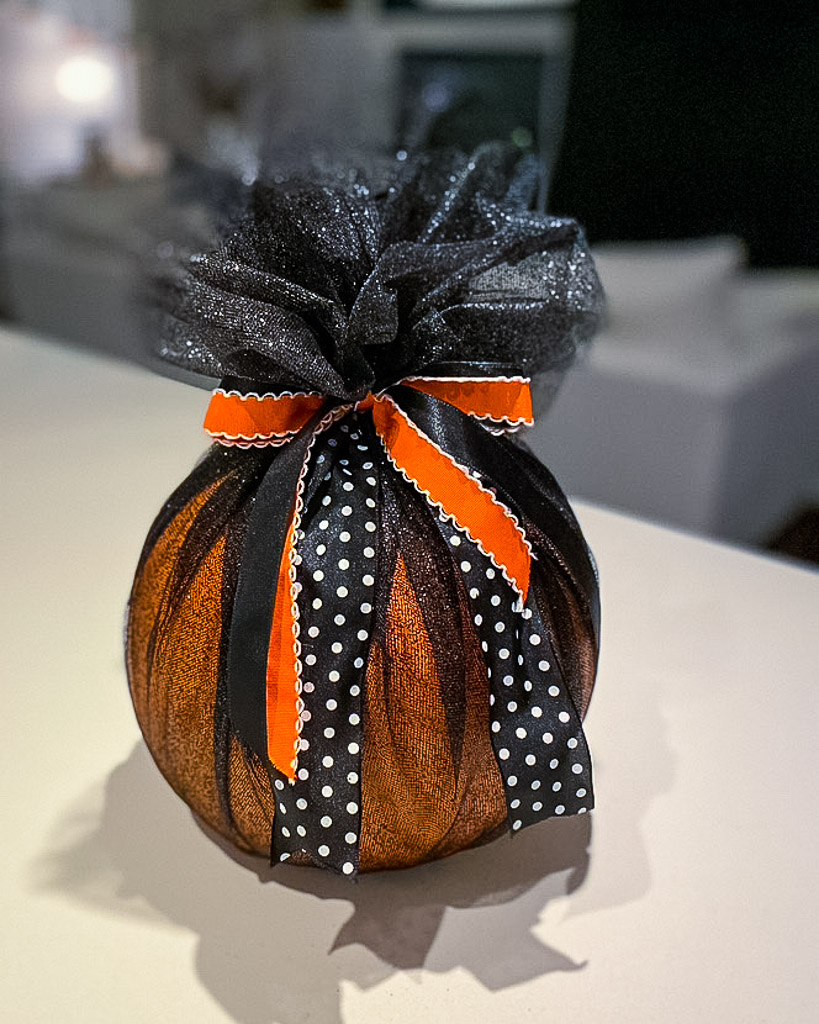
Here’s another shot of the finished product!
Super cute and super easy!
LOOKING FOR MORE FALL FUN? CHECK OUT THESE BLOGS:
The Best Fall Tabletop Decor Ideas
Easy Gorgeous Fall Decorations for a Table You’ll Love
This Halloween Candy Gets an Extreme Makeover
Five Halloween Trick or Treat Table Ideas You’ll Love
Easy Halloween Treats You’ll Think Are Adorable and Fun!
Try this idea and share a photo on Instagram with the hashtag #makeeverydayanevent and tag @makeeverydayanevent.
If you have any questions or suggestions, contact us or leave a comment!
Follow us on social media! You can find us on Instagram, Pinterest, and Facebook.


