HOW TO MAKE CHINOISERIE EGGS AND CREATE A BEAUTIFUL EASTER DISPLAY
Discover how to make Chinoiserie eggs, step by step, with these easy directions.
You’ll create a beautiful blue and white Easter centerpiece that you’ll love for years to come.
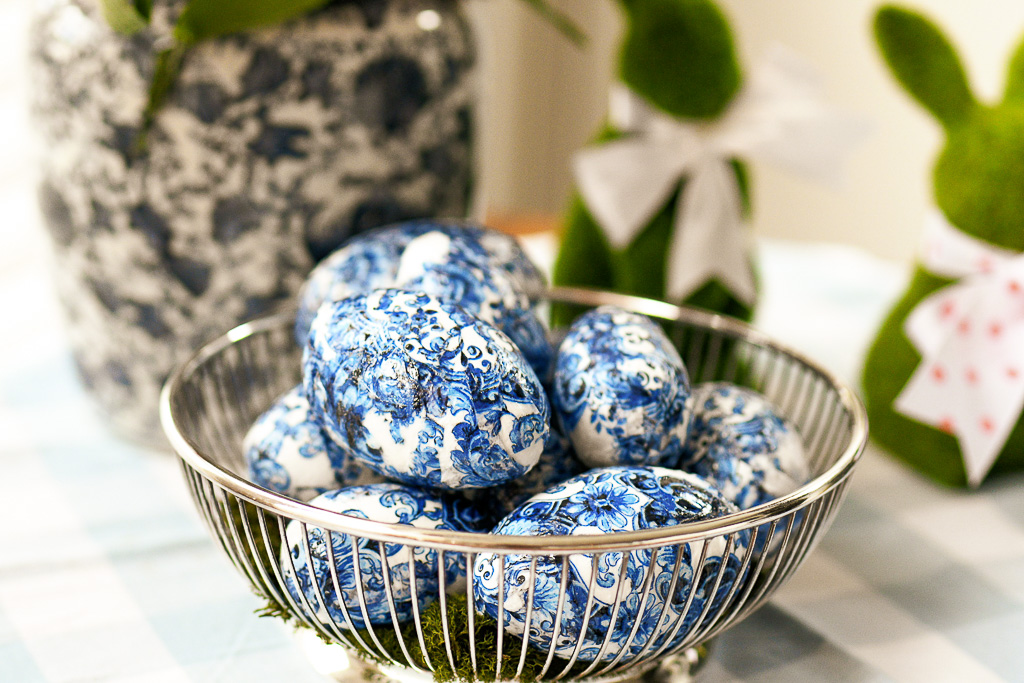
Beautiful chinoiserie eggs are an easy Easter egg craft and a simple DIY project that you’ll love.
They are the perfect accent for your easter display, as well as a perfect decorative piece for any Easter tablescape.
A blue and white color scheme is just a classic color palette this time of year. It is such a fun way to pull together a fresh look for spring and it truly looks great with all the pink and blue Easter accents.

Step by step, I’ll show you how easy it is to create collectible eggs and pull together an Easter decor look that is simple, yet refined.
Let’s be honest … Chinoiserie is definitely having a moment. Chinoiserie accessories (especially chinoiserie vases) are everywhere this season. The look is one that I definitely wanted to capture in my Easter decor this year.
And I found the perfect way to do it!
These blue and white decoupage easter eggs are an essential element that helped me create one of the best Easter accents I’ve ever pulled together. They are just elegant and allow you to incorporate a sophisticated, chinoiserie look with your Easter decor.
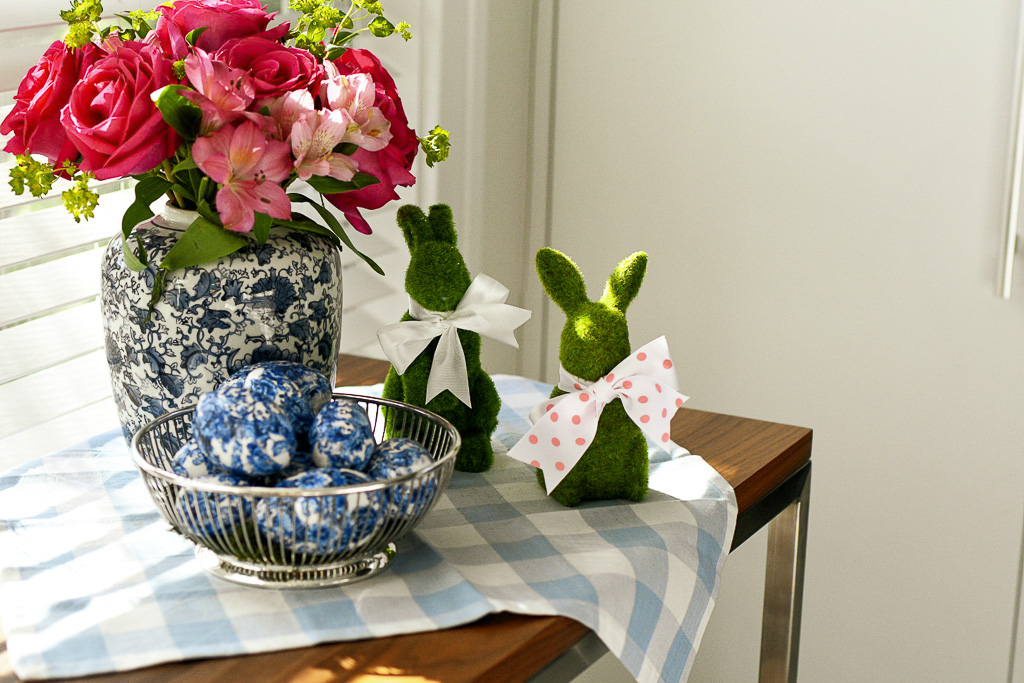
These little treasures are also ideal beside a colored egg, paired with pink or white linens, or resting on green easter grass.
These beautiful Easter eggs will be the perfect addition to your Easter table or accent table. And they are a creative project that’s easy to make and a great easter craft! I’ll show you how to make these beautiful chinoiserie Easter eggs, step by step! Plus they make a great gift!
HOW TO MAKE CHINOISERIE EASTER EGGS
Posts on Make Every Day an Event may contain affiliate links which means we may earn a small commission on purchases at no extra cost to you. To learn more, please read our full disclosure here.
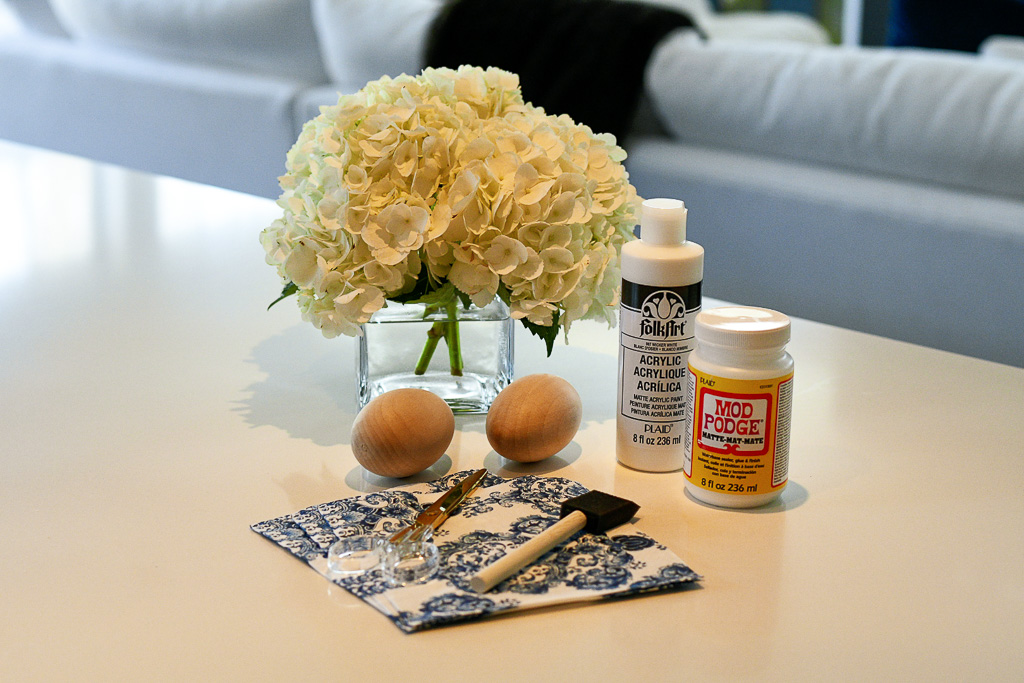
Here are the supplies you’ll need:
Wooden eggs in a variety of sizes (some big and some smaller eggs), I used these larger eggs and these smaller eggs
Paper cocktail napkins with a blue and white chinoiserie design, I used this design and this design
Sponge paint brush
White acrylic craft paint
Mod podge (I used matte finish)
Rust-Oleum Triple Thick Glaze spray paint
The first thing you need to do is paint the wood eggs with white acrylic paint using a foam brush. I started from the bottom of the egg and worked my way up to the top of the egg, to create a white egg.
Using the sponge brush and acrylic paint, cover the entire egg to create a solid white surface to ensure gorgeous eggs. You want solid white chinoiserie easter eggs. And here’s why that’s important …

When I was originally working this project, I used a plastic easter egg from Dollar Tree. Great idea, right? However color of the plastic eggs showed through. And the best part of the chinoiserie design are the crisp blues and whites. Don’t make this mistake!
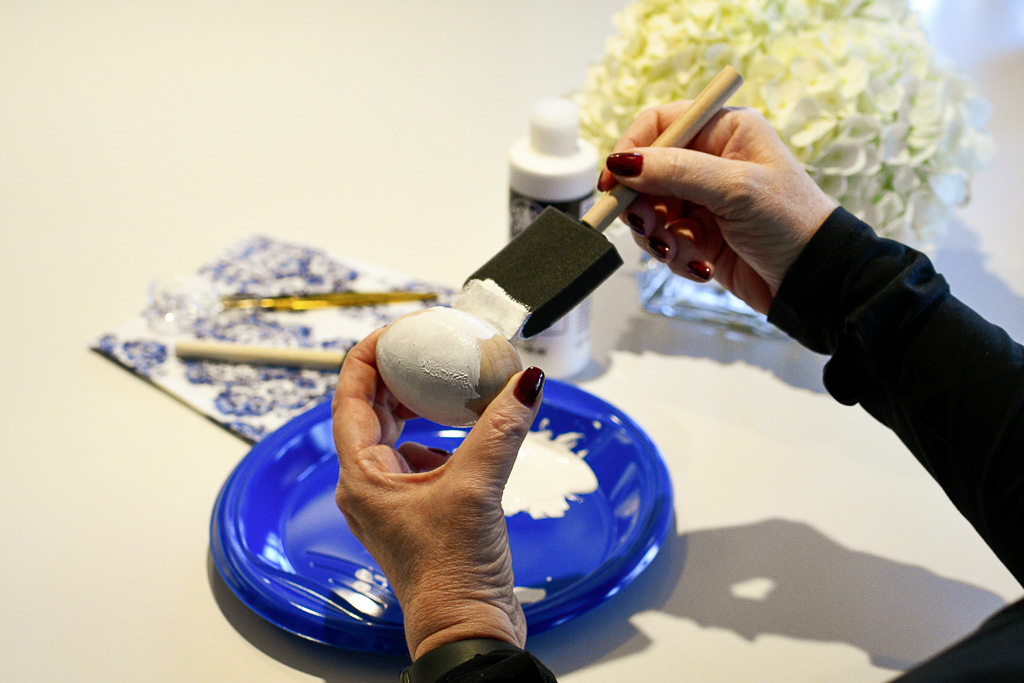
I have also seen people use real eggs for this type of project. But if I’m going to the effort of making these, I want them to last from until next year. So I prefer to use wooden eggs and paint them white. It just creates a better end result.
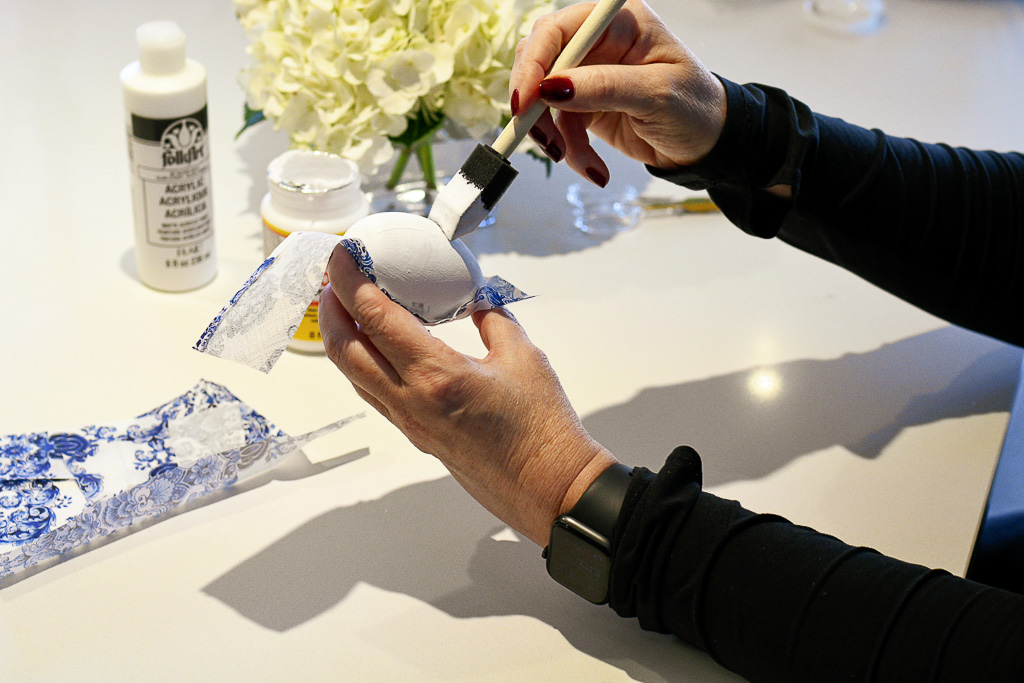
Next, you are going to affix the cocktail napkins. I picked out some great blue and white patterns. Just look at the intricate designs on these napkins! They are simply gorgeous and will look great on the wooden egg forms.
The napkins I chose were two-ply. So you’ll want to separate the top ply of the napkin from the bottom.
HOW TO MAKE CHINOISERIE EGGS FOR EASTER
Apply the napkin pieces to the painted wooden eggs with a thin layer of Mod Podge. You need to be careful to not oversaturate the napkin strips. It tears easily if it gets too wet. It can also crinkle and you want to adhere the napkin as smoothly as possible.
Next, I cut paper pieces of each napkin strip with the parts of the pattern that I liked the most. It’s best to use smaller pieces of napkin for decoupage eggs.
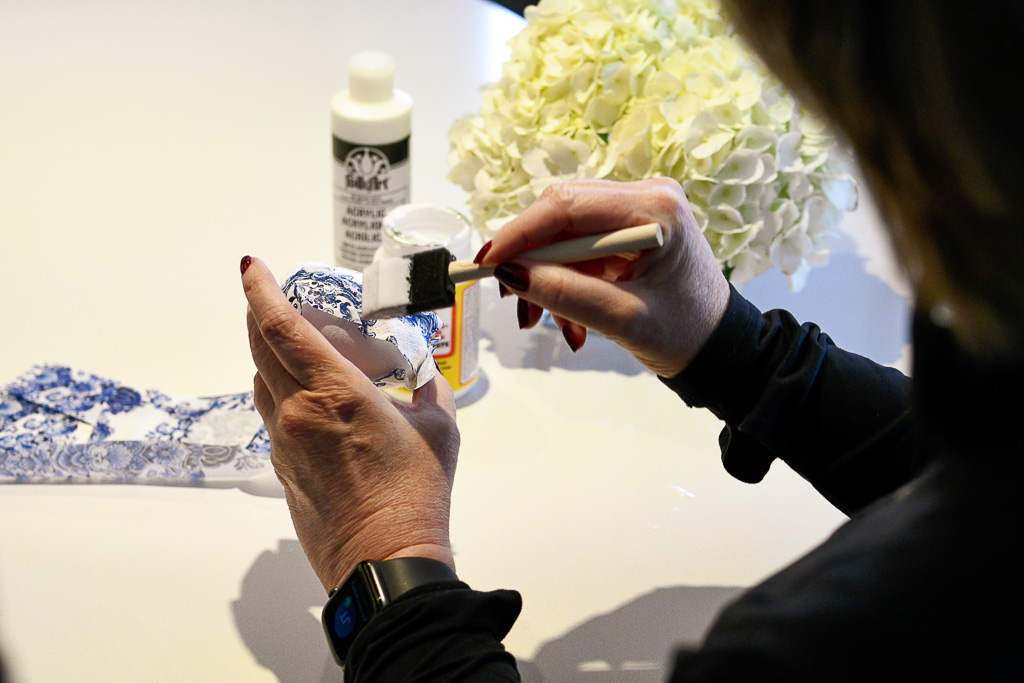
Don’t worry about matching the pattern. This isn’t wallpaper. If the patterns overlap, that’s okay. When the eggs dry, they will look fantastic. Trust me!

You need to work in small sections and allow the bottom of the egg to fully dry before you start on the top of the egg. Otherwise, your fingers will stick to the area you’ve already completed and it will cause a big mess.
The final step is my favorite, because it really makes the eggs beautiful.
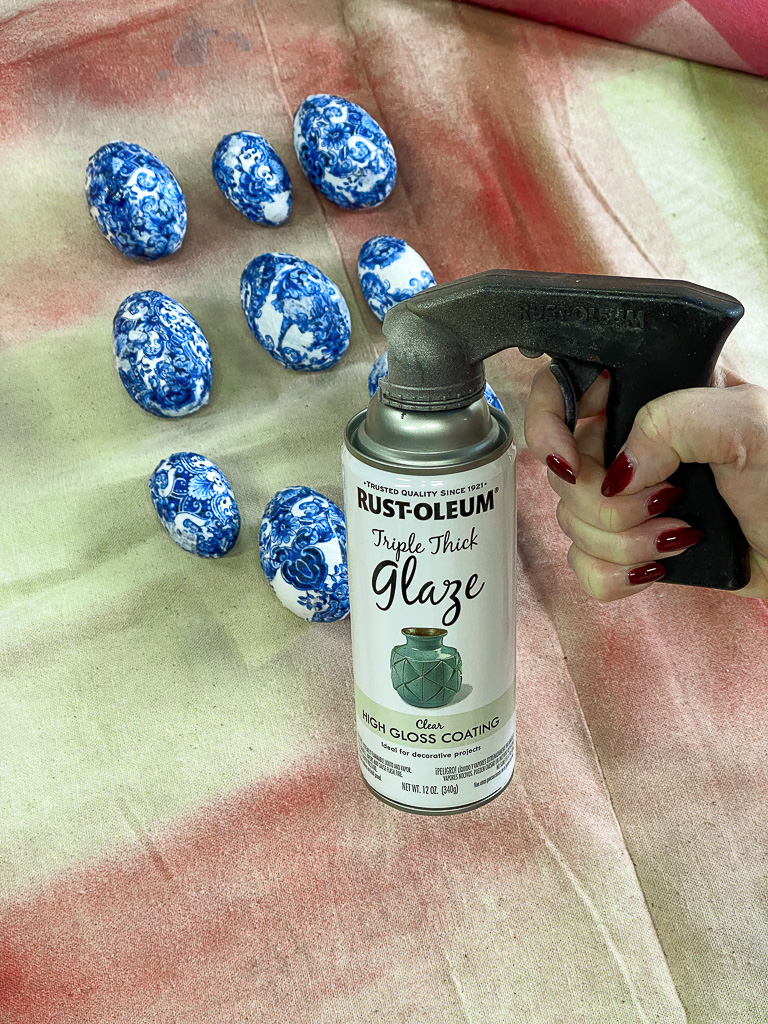
The glaze helps to create the look of ceramic bisque easter eggs and is a protective top layer.
If you’d like, you could also add a bit of gold leaf to the eggs, similar to what I did with the chinoiserie pumpkins I’ve created in previous years (one of the other decoupage projects I’ve highlighted on the blog).
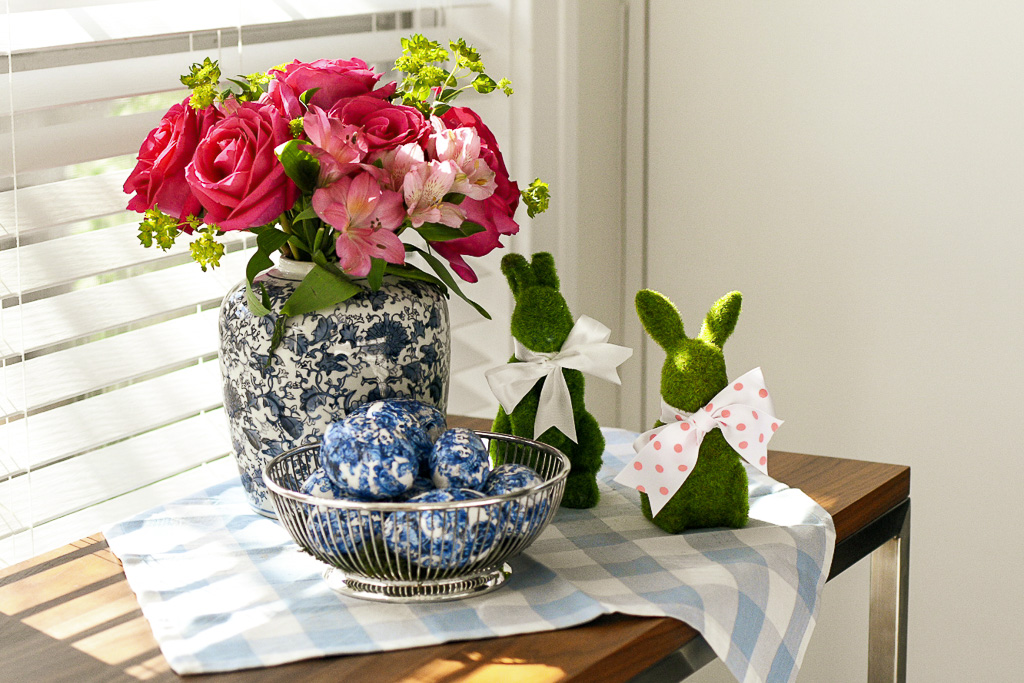
A GREAT ADDITION TO YOUR EASTER DECOR
When the eggs are dried, place them in a decorative Easter basket. I love the elegance of this silver basket and think it would look great on a brunch table with a silver candle holder. You could also use individual eggs as place cards at each place setting, perhaps writing each name on the egg with a gold paint pen or sharpie!
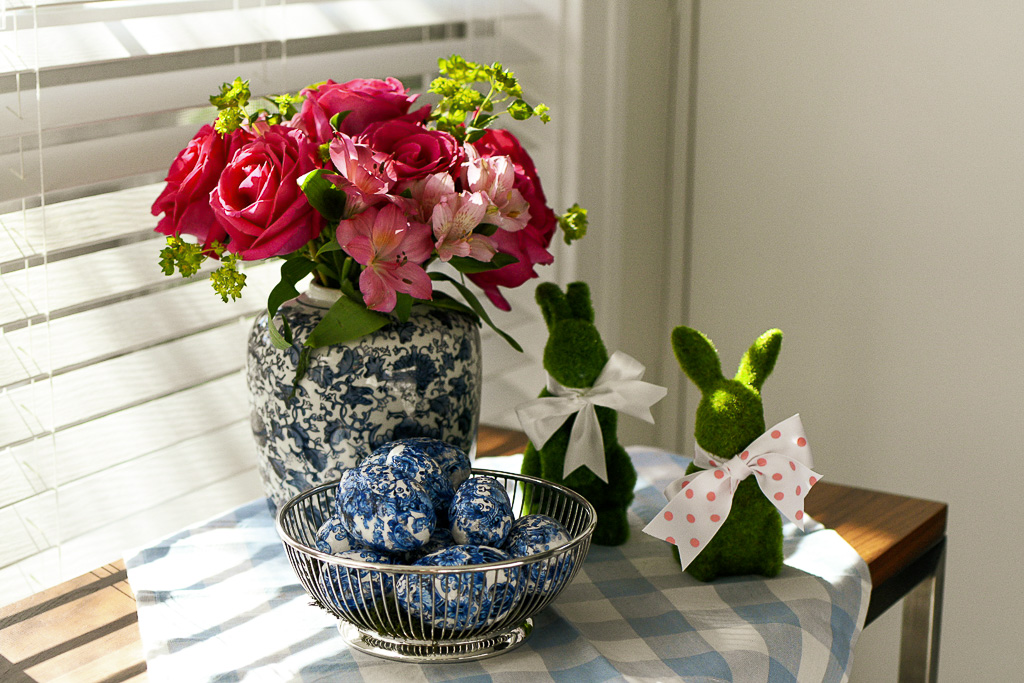
These gorgeous eggs are truly the perfect spring decor that your whole family will enjoy. I love the beautiful colors of these Easter chinoiserie eggs. I also love these Easter accents:
Moss Covered Bunny (I added a cute bow to each)
Blue and white buffalo check napkin
Silver basket (mine is vintage, but this one is just as great)
LOOKING FOR OTHER GREAT INSPIRING SPRING IDEAS?
You’ll find lots of great information in each of these posts:
An Adorable Boxwood Bunny Wreath is Easy to Make
Set a Great Table for Your Easter Brunch or Dinner
Fantastic Ideas for Your Kentucky Derby Party
Throw a Masters Golf Tournament Party That’s a Total Hole in One!
Did you utilize any of these ideas?
Share them on Instagram with the hashtag #makeeverydayanevent and tag @makeeverydayanevent.
If you have any questions or suggestions, contact us or leave a comment!
Follow us on social media! You can find us on Instagram, Pinterest, and Facebook.

