THE BEST QUICK AND EASY TO MAKE ICE CREAM SANDWICH RECIPE IN THREE SIMPLE STEPS

This ice cream sandwich recipe is easy to make and features a build-your-own-ice-cream-sandwich bar with lots of yummy toppings!
We pulled this idea together in honor of National Ice Cream Sandwich Day and had lots of delicious fun with it.
And we also uncovered a really clever hack that we’ll share with you!
We opted to create adorable, mini ice-cream sandwich “sliders,” which were an ideal serving size … they were just the right amount of sweetness without going overboard.
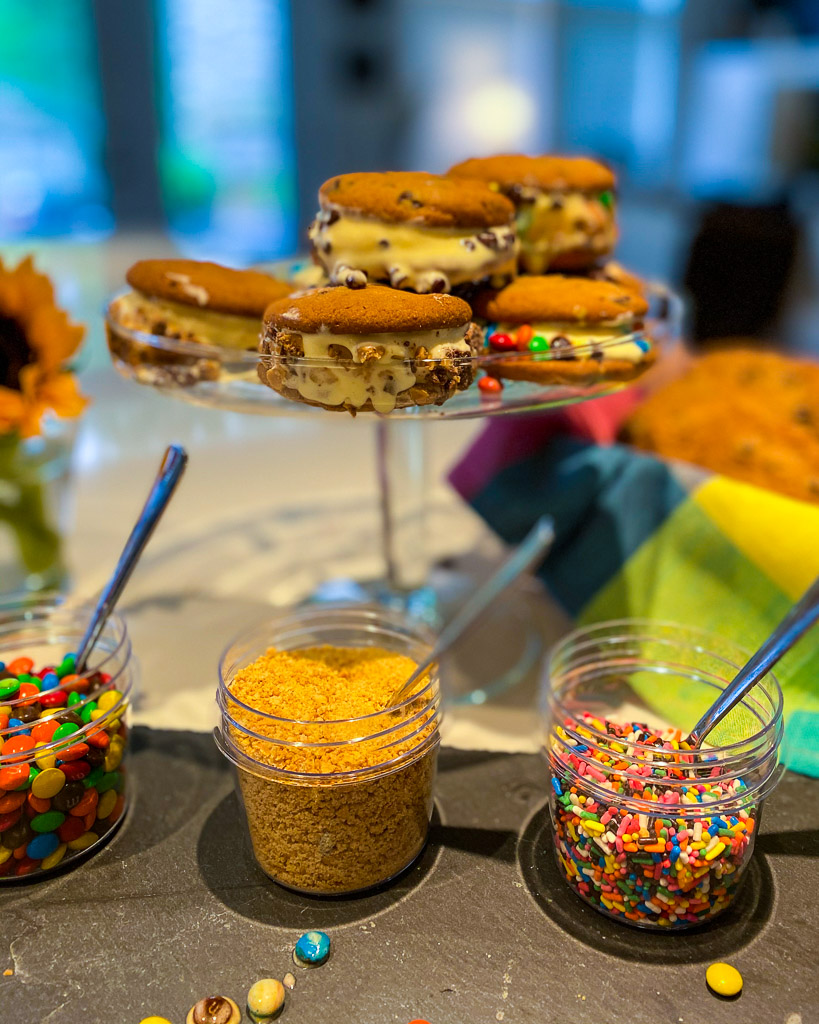
It was the perfect summertime treat on a hot August day.
To give you a jump start to help you curate your own, customized ice cream sandwich bar, we share a few tips and tricks that will help to ensure a fuss-free afternoon full of fun and deliciousness!
It was fun to pull this adorable, delicious and easy ice cream sandwich recipe together in three simple steps:
1. CHOOSE YOUR “BUN” …
Every sandwich needs a bun!
And there is a lot of flexibility when it comes to ice cream sandwiches …
While the chocolate wafer is what we might traditionally think of when it comes to the ice cream novelty, there is no right or wrong choice.
Cookies, brownies and dessert bars have all become acceptable (and yummy) choices through the years.
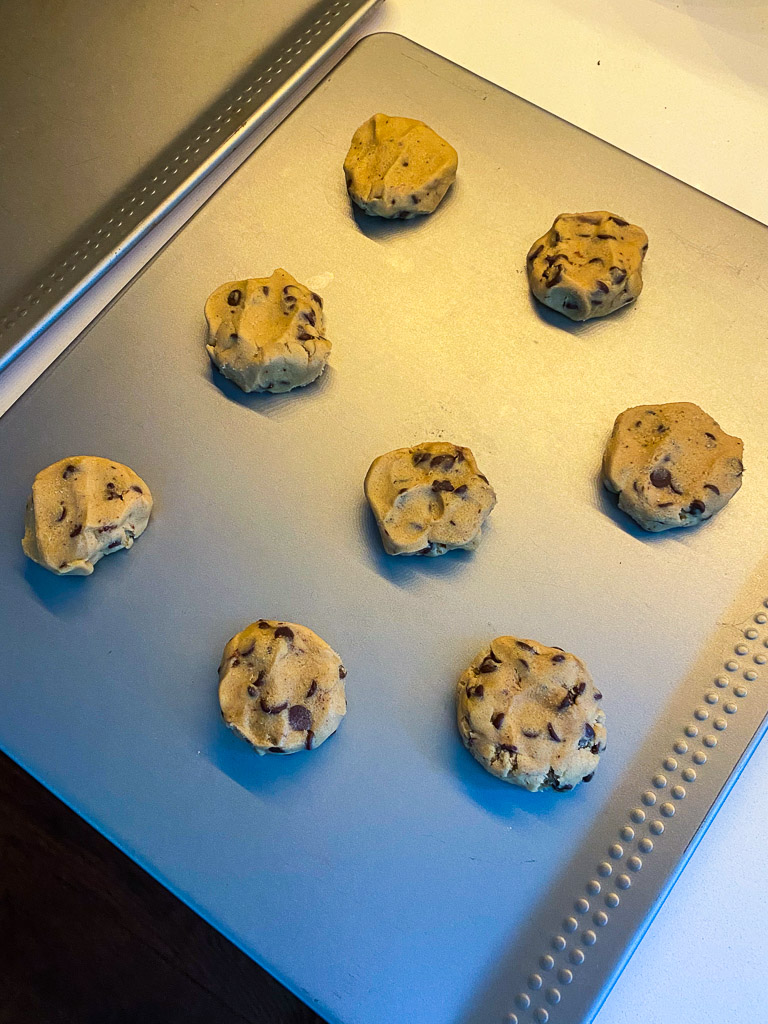
On this particular occasion, we decided to go with a tried-and-true favorite, the chipwich.
Who can resist vanilla ice cream flanked by two, WARM, chocolate chip cookies?
That said, if you are truly adventurous and want to create those classic chocolate wafers from scratch, you’ll need a specialized baking pan.
You can go with either a traditional rectangular shape or a more modern round wafer, which can be baked using a non-stick muffin top pan.
2. HERE’S A HACK YOU’LL WANT TO USE!
As we were planning for this day, we were struck by how perfectly shaped the ice cream was in many of the photos we saw.
How can we recreate this same look? It seemed like a challenge.
Come to find out … it’s easy! Like most tasks, you just have to begin with the end in mind.
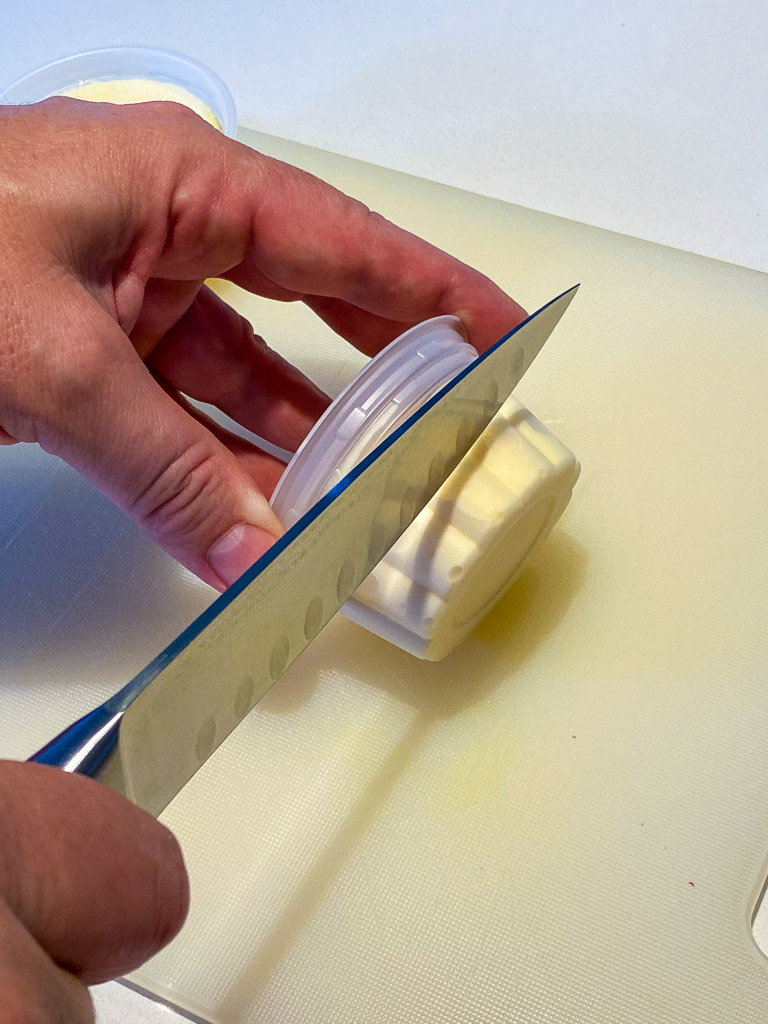
We discovered the key to making our chipwich sliders was to use pre-packaged ice cream cups for the filling.
One cup, sliced in half lengthwise, created a perfectly shaped iced cream disc.
It was so simply to do and such a time saver! Plus it allowed us to perfectly portion each of our chipwich desserts.
You can typically find ice cream cups at your local grocery store.
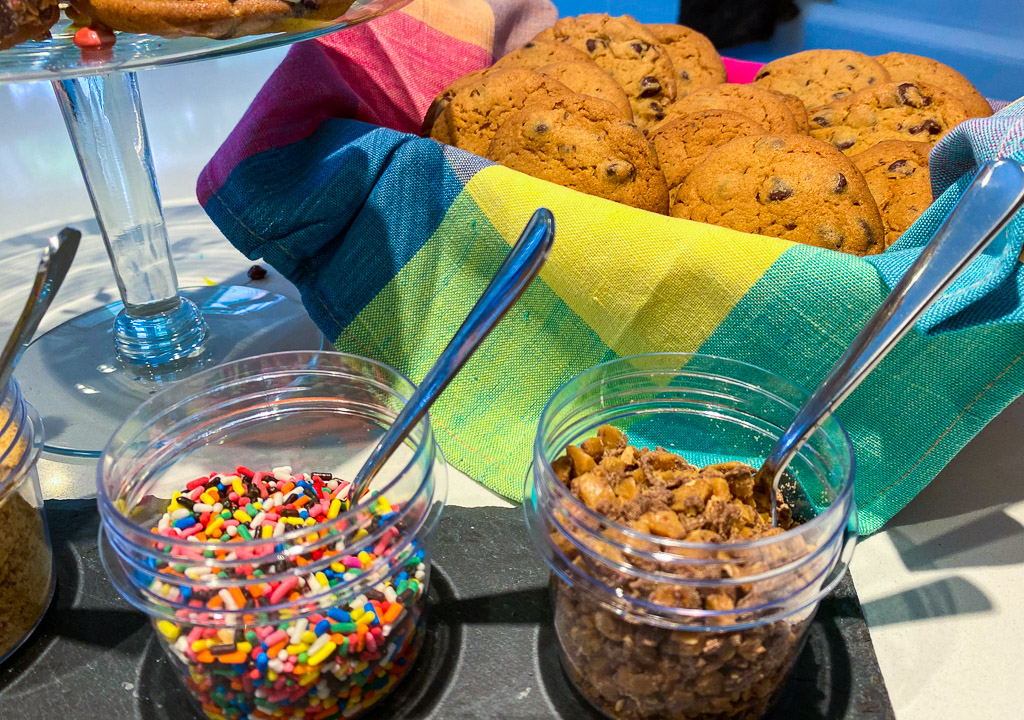
 3. LET’S GET ROLLING …
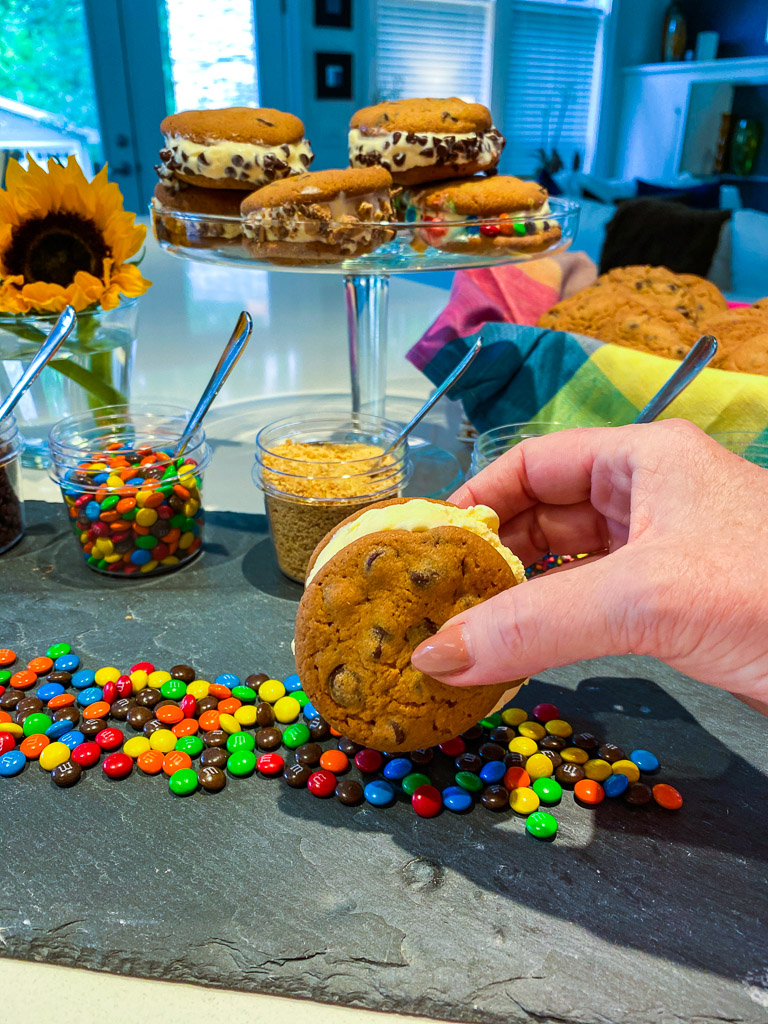
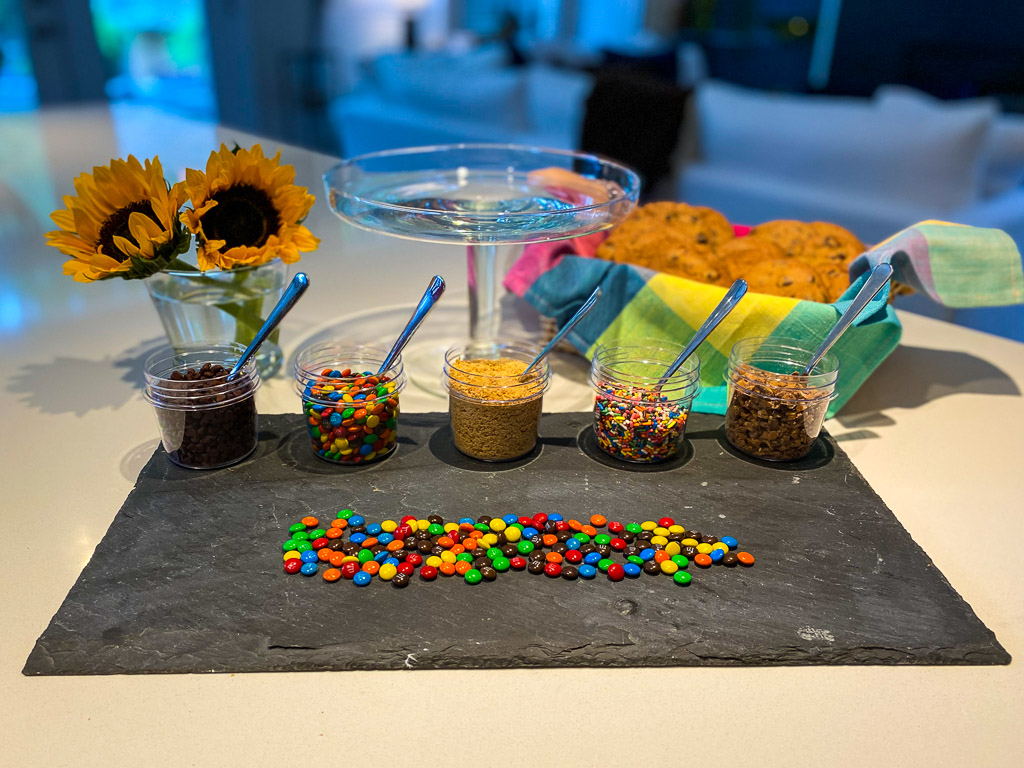
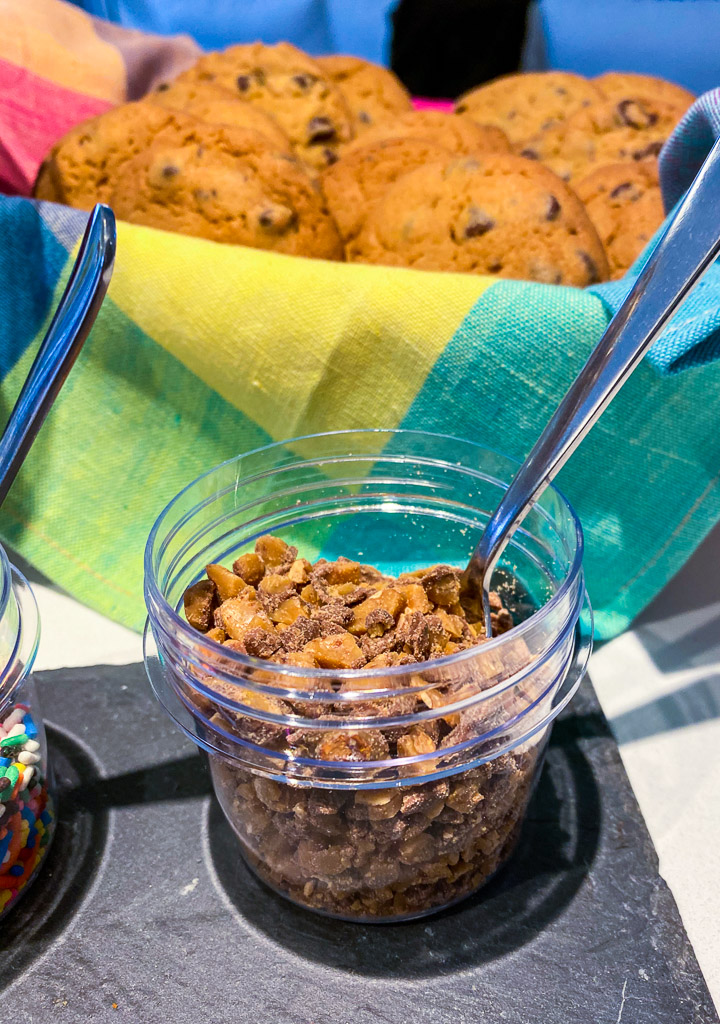
To add a bit of crunch to our sliders, we decided to embellish them on the sides with some ice cream toppings. Bits of Heath, mini M&Ms, graham cracker crumbs, mini chocolate chips and colorful sprinkles were the perfect addition.
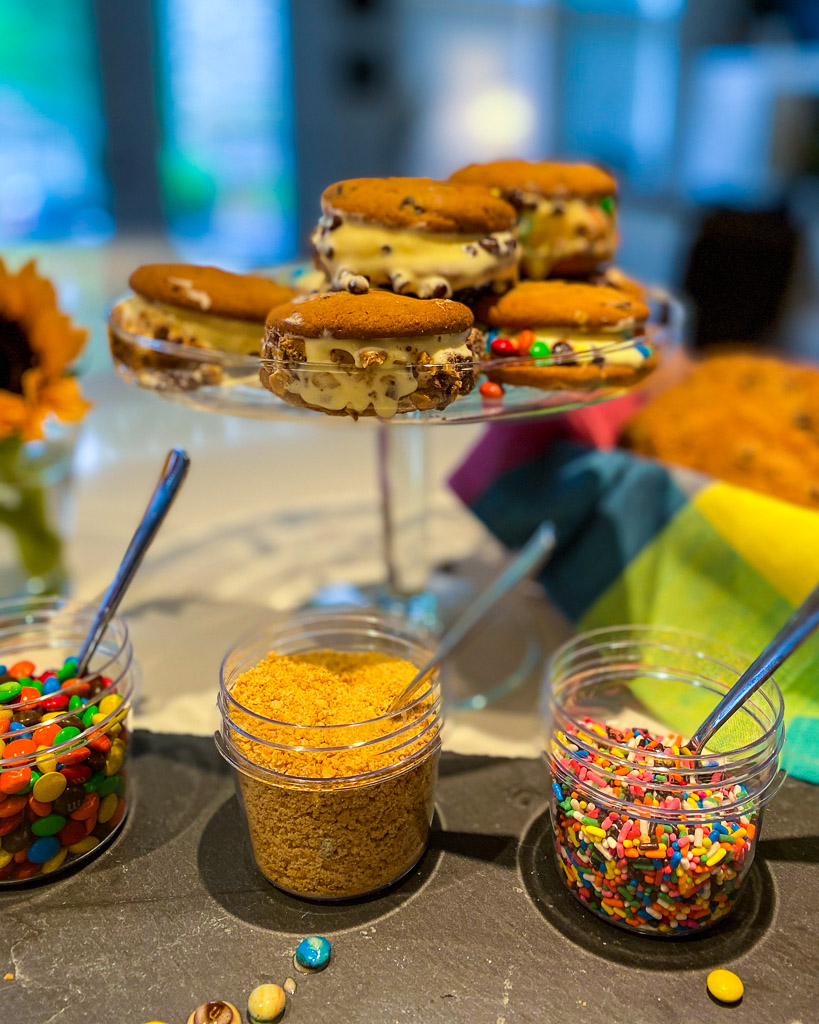
Plus it allowed for a bit of interactive fun to make each ice cream slider truly unique. We displayed the toppings in simple plastic jars with small spoons. Setting the toppings on a slate tray allowed each person to roll the sides of the chipwich in their chosen topping. It also made the clean up super easy. Since he jars were lidded, storing extras for use in the future was a total breeze!

Did you try this idea? Share it on Instagram with the hashtag #makeeverydayanevent and tag @makeeverydayanevent!
Looking for some additional entertaining ideas that are perfect for the warm outdoor weather? Check out these cute picnic ideas and these romantic picnic ideas!
If you have any questions or suggestions, contact us or leave a comment!
Follow us on social media! You can find us on Instagram, Pinterest, and Facebook.


